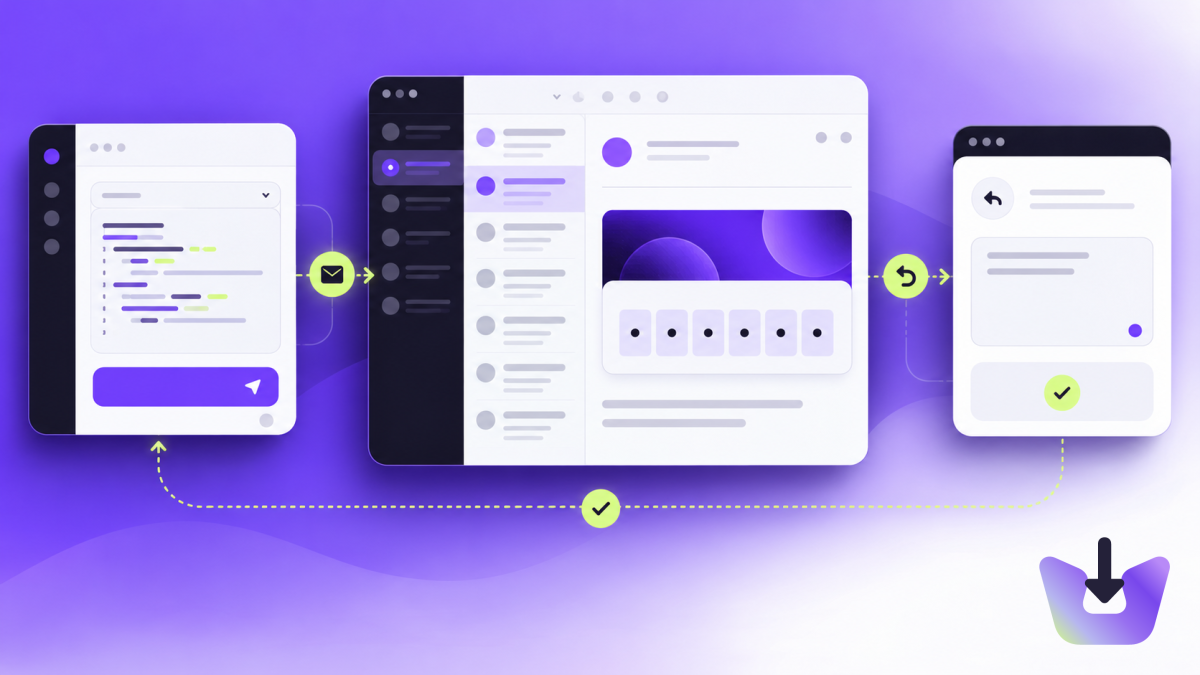
What is a transactional email?
A transactional email is a message triggered by an event in your application: someone creates an account, requests a password reset, completes an order or needs a notification about their account. Its purpose is to help that person finish a task or understand what just happened.
Start by writing down the event, the recipient and the next action. For a welcome email, the action might be creating a workspace. For a password reset, it is securely choosing a new password. Keeping each message focused makes both the content and the implementation easier to test.
Plan the message before connecting an API
Use a small event-to-message map. An account-created event produces one welcome email. A reset-requested event produces a reset email tied to that specific request. A payment-confirmed event produces a receipt. Do not make page refreshes or repeated button clicks the source of truth for whether an email should be sent.
- Sender: use a recognizable display name and an address on a domain you control.
- Subject: describe the event, such as “Reset your Acme password,” rather than an unexplained “Action required.”
- Body: explain what happened and provide one clear next step.
- Reply destination: decide whether replies go to support, your app or another monitored inbox.
For example, a welcome message could say: “Your workspace is ready. Create your first inbox to start testing email.” The message should point to a working destination, not leave the recipient guessing what to do next.
Send your first email with InboxIt
Confirm your account email, select the correct workspace and add your sending domain under Settings → Sending domains. Publish the records supplied for that domain and recheck verification. Use the sending guide for sender requirements and current limits.
For a manual check, use the Send email page with a recipient you control. For an integration, choose the HTTP API or configure your existing mail library with InboxIt’s SMTP settings. Store credentials on your server, not in browser JavaScript.
The HTTP sending API requires plain-text content even if you also supply HTML. That makes it worth writing a readable text version first. Add your logo, layout and button in HTML, then verify that the essential action still makes sense in plain text.
Handle retries without sending twice
Imagine your app submits a welcome email but loses the connection before it receives the response. The request may already have been accepted. Retrying with a new identifier risks sending another copy.
Persist one idempotency key for the logical message and reuse that key with the same payload after an ambiguous timeout. Keep the event and email record together so a restarted worker can recover them. A new password-reset request is a new event; a retry of the same request is not. See the email idempotency guide for a concrete retry strategy.
Understand what delivery status tells you
An accepted API request is not proof that the message reached the inbox. In InboxIt, pending means awaiting processing, queued means handed to delivery, and delivered means the remote server accepted the message. Inbox placement still needs a mailbox check.
If a test does not arrive, first inspect Logs. Check the recipient spelling, sender verification and any reported failure. Then check the receiving mailbox, including its spam folder. Repeatedly clicking Send creates more noise and can make it harder to identify the original problem.
Automated applications can subscribe to delivery and bounce events. Verify webhook signatures and process duplicate events safely; the webhook guide documents the contract.
A launch checklist for essential emails
- Send to a mailbox you control and check the sender, subject, text and HTML.
- Open every action link on a small screen and confirm it leads to the correct environment.
- Test a missing or delayed email and the user-facing recovery message.
- Retry one logical request and confirm that it does not create a second email.
- Reply to the message and confirm the reply reaches the intended destination.
For password resets, your application must enforce token expiry and single use. The email transport does not validate the reset token for you. OWASP’s password-reset guidance covers those application responsibilities.
Next, use our signup and password-reset testing checklist to verify the complete journey.