Start with a round trip
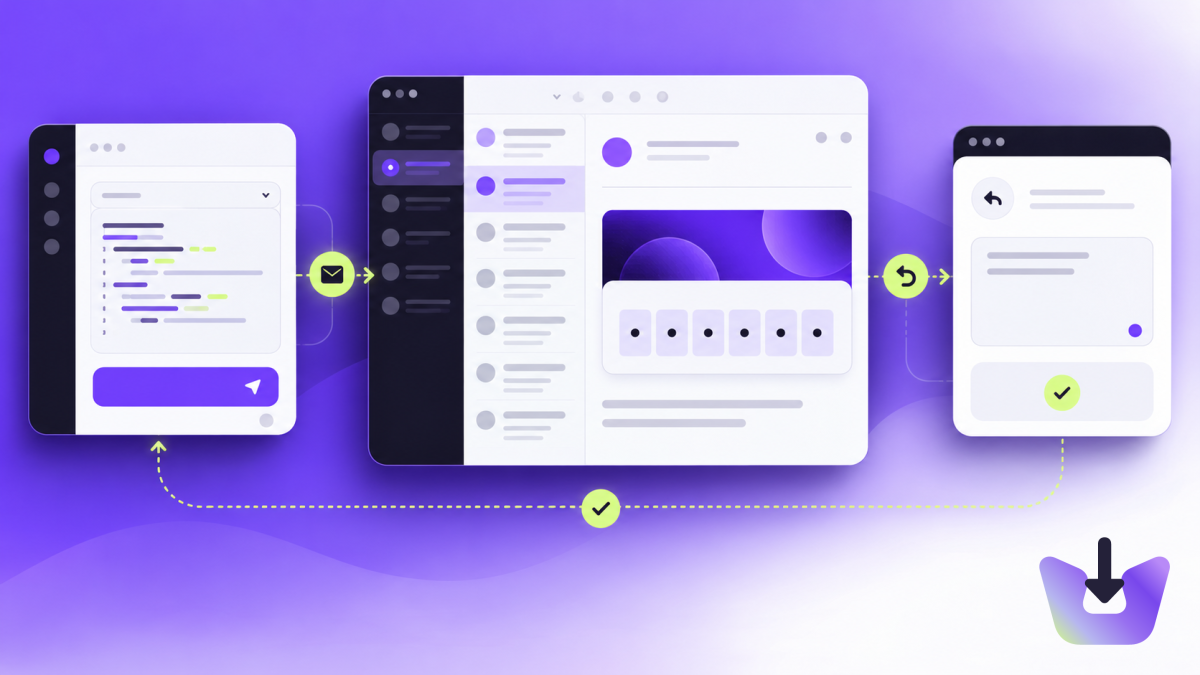
Suppose your application emails a customer about a support request. When they reply, you want the response on that request, not lost in a personal mailbox. The flow is: configure a receiving address, point Reply-To at it, receive the response, then associate it with an application conversation.
This tutorial first retrieves a reply using a standalone Node.js script. It then explains how to turn retrieval into event-driven processing. The script is runnable after configuration; durable queueing and conversation storage belong to your application and are not supplied by this example.
Configure an address that receives mail
- Create an inbox in your InboxIt workspace and wait for it to become active.
- For a custom address, verify the receiving domain and MX records, then assign the address to the inbox.
- Set reply_to on your outgoing message to that receiving address.
- Send to a mailbox you control, reply from it and confirm the response appears in the dashboard.
Do not replace existing employee mailbox MX records without planning the change. A receiving subdomain can keep application mail separate. Follow the receiving guide for configuration and the sending guide for outbound requirements.
Retrieve a reply with Node.js
Use Node.js 22 or later and a workspace API key with messages:read. Set INBOXIT_API_KEY and INBOXIT_INBOX_ID in your server environment. Save this as receive-reply.mjs and run node receive-reply.mjs. It prints a safe summary of the latest page. To fetch a specific message, set INBOXIT_MESSAGE_UID to its mailbox UID from the list response.
// receive-reply.mjs — run with Node.js 22 or later
const token = process.env.INBOXIT_API_KEY;
const inbox = process.env.INBOXIT_INBOX_ID;
if (!token || !inbox) throw new Error('Set API key and inbox ID');
const base = 'https://inboxit.wtf/api/v2/inboxes/' + encodeURIComponent(inbox);
async function get(path) {
  const response = await fetch(base + path, {
    headers: { Authorization: 'Bearer ' + token },
    signal: AbortSignal.timeout(10_000)
  });
  if (!response.ok()) throw new Error('InboxIt HTTP ' + response.status);
  return response.json();
}
const list = await get('/messages?limit=20');
// Metadata only: do not dump customer messages or reset tokens into logs.
console.log({ uidValidity: list.uid_validity, count: list.messages.length,
  nextBefore: list.next_before });
// To inspect a specific reply, set INBOXIT_MESSAGE_UID from the message list.
const uid = process.env.INBOXIT_MESSAGE_UID;
if (uid) {
  if (!/^[1-9][0-9]*$/.test(uid)) throw new Error('Expected a mailbox UID');
  const message = await get('/messages/' + uid);
  // Pass message to your application's access-controlled conversation view.
  console.log({ fetched: Boolean(message), inboxId: inbox,
    uidValidity: list.uid_validity, uid });
}
Messages are paginated. If next_before is present, request the next page with before set to that value. Persist the inbox ID, uid_validity and UID together; the outgoing email UUID is a different identifier. If UID validity changes, reconcile the mailbox before treating a reused UID as the same message.
The example fetches the body but deliberately does not print it. Render it in an access-controlled view or process it in a worker. Do not inject received HTML directly into your app: treat it as untrusted content.
Move from manual retrieval to webhooks
Register an email.received endpoint from the workspace Webhooks page or authenticated CLI. Registration needs an owner or admin session, not the read-only API key above. The endpoint must use public HTTPS on port 443. Store its signing secret securely when it is first returned.
The event envelope contains id, type, created_at, workspace_id and data. For email.received, data contains inbox_id, uid, uid_validity, address and message_id. It does not contain the body. Your worker fetches that separately with the message API. New endpoints do not replay historical mail, so use paginated retrieval for any initial backfill.
In your HTTP handler, collect the original raw request Buffer with a body-size limit before JSON parsing. Verify the headers using the following function:
import { createHmac, timingSafeEqual } from 'node:crypto';

// rawBody must be the original Buffer, before JSON parsing.
export function verifyInboxIt(rawBody, headers, secret) {
  const id = headers['webhook-id'];
  const time = headers['webhook-timestamp'];
  const signature = headers['webhook-signature'];
  if (typeof id !== 'string' || typeof time !== 'string' ||
      typeof signature !== 'string' || !secret || !/^\d+$/.test(time)) return false;
  if (Math.abs(Date.now() / 1000 - Number(time)) > 300) return false;
  const hex = createHmac('sha256', secret)
    .update(id + '.' + time + '.').update(rawBody).digest('hex');
  const expected = Buffer.from('v1=' + hex);
  const actual = Buffer.from(signature);
  return actual.length === expected.length && timingSafeEqual(actual, expected);
}
This helper follows InboxIt’s signature contract and uses Node’s timingSafeEqual. It is not a complete HTTP server. Configure request-size limits, HTTPS, environment secrets and error handling in your own framework.
Accept once, process durably
- Reject an invalid signature before parsing or processing the event.
- Parse JSON, check that the envelope ID matches webhook-id, and validate type, workspace and message identifiers.
- Insert the event into durable storage with a unique event ID and queue its processing atomically.
- Return a success response only after durable acceptance. Already accepted events can return success again.
- Have a worker fetch the message and update the conversation idempotently.
Delivery is at least once and ordering is not guaranteed. Non-success responses and network failures trigger up to eight attempts with backoff. If your database is unavailable, fail the request so it can retry; do not return success and lose the event. Monitor exhausted retries and provide a replay path.
Attach the reply to the right conversation
Store the RFC Message-ID of the outgoing email alongside your internal conversation ID. Use the incoming In-Reply-To and References headers to find that association. Avoid matching only on subject or sender: different customers and requests can have identical subjects. Keep unmatched messages available for review.
A matching header is useful context, not proof of identity. Authenticate sensitive actions separately. Before replying automatically, check suppression rules, prevent loops from automated responses and use a stable idempotency key for each logical outgoing reply. See the threading documentation and conversation design guide.
Verify before enabling automation
- Send a real round trip and check the correct conversation receives the reply.
- Replay the same event and confirm it creates no duplicate conversation entry.
- Change the signed body and confirm the endpoint rejects it.
- Simulate a storage outage and confirm events are retried rather than discarded.
- Try an unmatched reply and confirm a person can review it.
Retrieve required data before message retention expires. Start with a human reviewing replies, then automate the narrowly defined actions your product needs. Explore the customer replies solution for the full workflow.